Recipes
Homemade Berry Jam Recipe
This homemade berry jam combines juicy berries, sugar, and lemon juice into a bright, spreadable preserve without special canning equipment. Use fresh or frozen berries and adjust the cooking time by texture rather than the clock.
Overview
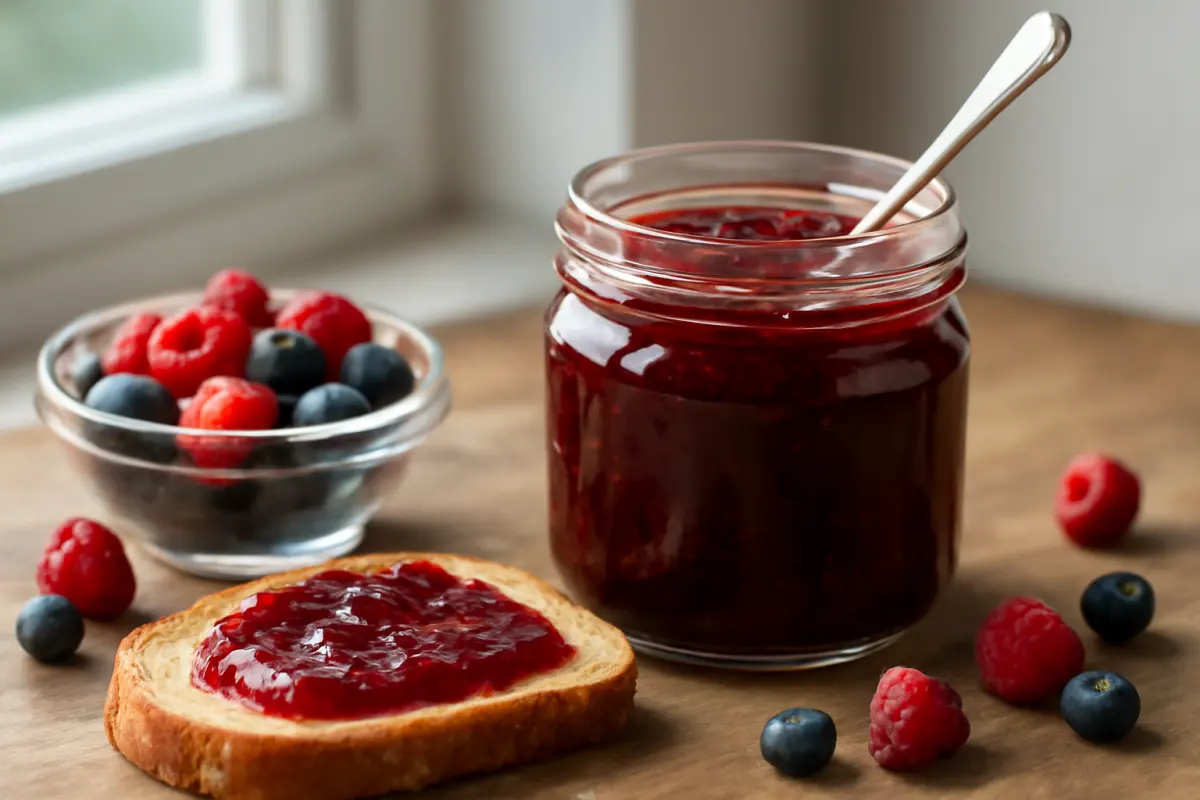
This homemade berry jam is made with berries, sugar, and lemon juice in one saucepan. A gentle simmer softens the fruit, while steady cooking concentrates the juices until the jam is thick enough to spread but still glossy and spoonable.
Use strawberries, raspberries, blackberries, blueberries, or a mixture. Fresh and frozen berries both work; frozen fruit may simply need a few extra minutes to cook. This refrigerator jam is not processed for shelf stability, so it must be cooled and stored in the refrigerator or freezer.
Ingredients
- 4 cups berries, about 600 g, fresh or frozen
- 3 cups granulated sugar, about 600 g
- 2 tablespoons fresh lemon juice
- 1 teaspoon finely grated lemon zest, optional
- Pinch of fine salt
How to make it
Prepare the berries. Rinse fresh berries and drain them well. Hull strawberries and cut any large ones into ½-inch pieces. If using frozen berries, do not thaw them first. Lightly crush the berries with a potato masher or the back of a wooden spoon, leaving some pieces intact for a textured jam.
Combine the ingredients. Put the berries, sugar, lemon juice, lemon zest if using, and salt in a wide, heavy-bottomed saucepan. Stir until the sugar coats the fruit. Let the mixture stand for 10 minutes so the berries release some juice and the sugar begins to dissolve.
Bring the mixture to a boil. Set the pan over medium heat and stir frequently until the sugar has dissolved and the berries look juicy. Increase the heat to medium-high. Once the mixture reaches a full boil that continues bubbling while you stir, reduce the heat slightly to maintain a vigorous but controlled boil.
Cook until thickened. Boil for 15 to 25 minutes, stirring often and scraping the bottom and corners of the pan. The jam will foam at first, then the bubbles will become slower and glossier as the liquid concentrates. If it threatens to climb the sides of the pan, lower the heat briefly.
Check the set. For the most precise result, clip a candy or instant-read thermometer to the pan and cook until the jam reaches about 220°F (104°C). Temperature can vary slightly with altitude and the size of the batch, so also check the texture: drag a spatula across the bottom and the path should remain visible for a moment, and a spoonful placed on a chilled plate should wrinkle slightly when pushed with a fingertip. The jam will thicken more as it cools.
Adjust if needed. If the chilled-plate test is still very runny, return the pan to the heat and boil for 2 to 3 minutes longer before testing again. If the jam has become stiff or looks dry, stir in 1 tablespoon of water at a time over low heat until it loosens.
Jar and cool. Remove the pan from the heat and skim off excess foam if you want a clearer surface. Ladle the hot jam into clean, heatproof jars, leaving about ½ inch of space at the top. Let the jars cool uncovered until barely warm, then cap them and refrigerate. The jam will reach its final texture after several hours.
Expert tips
- Use a wide pan rather than a narrow, deep pot. More surface area helps water evaporate evenly and shortens the cooking time.
- Raspberries and blackberries contain many seeds. For seedless jam, press the cooked fruit through a fine-mesh sieve before returning it to the pan with the sugar and lemon juice, then continue cooking until set.
- Strawberries are watery and can produce a softer jam. Chop them finely and rely on the chilled-plate test instead of stopping at a fixed time.
- Frozen berries release more liquid as they cook. Expect the mixture to take a few extra minutes to thicken, and do not raise the heat so high that the sugar scorches before the water evaporates.
- Do not double the batch in the same pan. A larger volume changes the evaporation rate and can make the finished jam uneven. Cook separate batches instead.
- For a less sweet spread, reducing the sugar is possible, but the jam may set more softly and spoil sooner after opening. For consistent low-sugar results, use a tested low-sugar pectin formula rather than changing this ratio at random.
- If foam remains, stir in a small pat of butter while the jam is hot, or simply skim the surface before filling the jars.
Serving and storage
Spoon the jam over toast, biscuits, yogurt, oatmeal, or pancakes. It also makes a useful filling for cookies, including homemade chocolate oatmeal cookies, when you want a bright fruit contrast with chocolate.
Cool the jam promptly and refrigerate it in clean, covered jars. Use within about 3 weeks for best quality. For longer storage, freeze the cooled jam in freezer-safe containers, leaving at least ½ inch of headspace for expansion, and use within about 6 months. Thaw frozen jam overnight in the refrigerator.
This recipe is refrigerator jam, not shelf-stable canned jam. Do not store filled jars at room temperature unless you follow a tested water-bath canning recipe and process the jars according to its instructions. Discard the jam if it develops mold, bubbling or fermentation, an unpleasant odor, or an unusual appearance; do not scrape off mold and use the rest.
Frequently asked questions
Can I use frozen berries for homemade jam?
Yes. Add frozen berries directly to the saucepan without thawing. They release extra liquid, so the jam may need a few additional minutes of boiling before it passes the chilled-plate test.
Why is my berry jam too runny?
It may not have cooked long enough, especially if the berries were very juicy. Return it to the pan and boil for 2 to 3 minutes, then test a spoonful on a chilled plate. Keep in mind that jam thickens further as it cools.
Why did my jam turn out too thick?
The mixture likely cooked past its ideal endpoint or lost too much water. Warm it over low heat and stir in water 1 tablespoon at a time until it becomes spreadable.
Do I need pectin to make berry jam?
No. This recipe relies on sugar, fruit, lemon juice, and evaporation to set. The final texture varies with the berries, so use the temperature and chilled-plate cues rather than time alone.
How long does homemade berry jam last in the refrigerator?
Store it covered in the refrigerator and use it within about 3 weeks for best quality. This recipe is not shelf-stable and should not be kept at room temperature.